How to Place a Clip Art Picture as a Watermark
Microsoft 365 ranks highly in our list of the all-time online collaboration tools. The functionality of Microsoft Word is a big reason why the Microsoft Office suite remains so popular after all this time.
Knowing how to create watermarks in Microsoft Word 2021 tin make your documents compelling yet professional. Watermarks are often used to protect confidential information, claim ownership of a certificate, or bespeak the validity of a legal document.
Watermarks in Microsoft Word can be text or image. You tin use i of Microsoft Give-and-take'southward template watermarks, or you tin can set your own text or apply your own prototype. We've outlined all these options below.
Annotation that while this guide focuses on Microsoft Discussion 2021, the steps for adding watermarks are almost identical for earlier versions of Discussion.
Related: The all-time Microsoft Office alternatives .
Footstep 1: Inserting a template watermark
Discussion has pre-made watermark templates for common terms like confidential, typhoon, and urgent.
To insert a template watermark, click on the Design tab at the top of the screen. In that location, you'll notice the Watermark dropdown. Click on this dropdown and select the template y'all want from the listing. This will utilise the watermark to all of the pages of your document.

Step 2: Placing a watermark onto a unmarried page
Sometimes you might want to identify a watermark only on certain pages of your certificate. You lot can do this past going to the Pattern bill of fare every bit y'all did in the pace above and choosing the Watermark dropdown. Merely instead of clicking the watermark you desire, correct-click it and select Insert at Current Certificate Position.
This will add the watermark to the current folio only, and then you'll need to already be on the page where you desire to add the watermark.

Footstep 3: Creating a custom text watermark
You don't have to stick with the small selection of text watermarks included with Give-and-take. You can create your own watermark text and format it as yous please. In the Watermark menu, cull Custom Watermark.
Select the Text Watermark radio button. Y'all now take text, font, size, colour, and layout options. Change the options every bit you come across fit and click Utilize to meet your changes. You lot can determine between a diagonal or horizontal watermark and cull whether the watermark will be semi-transparent.

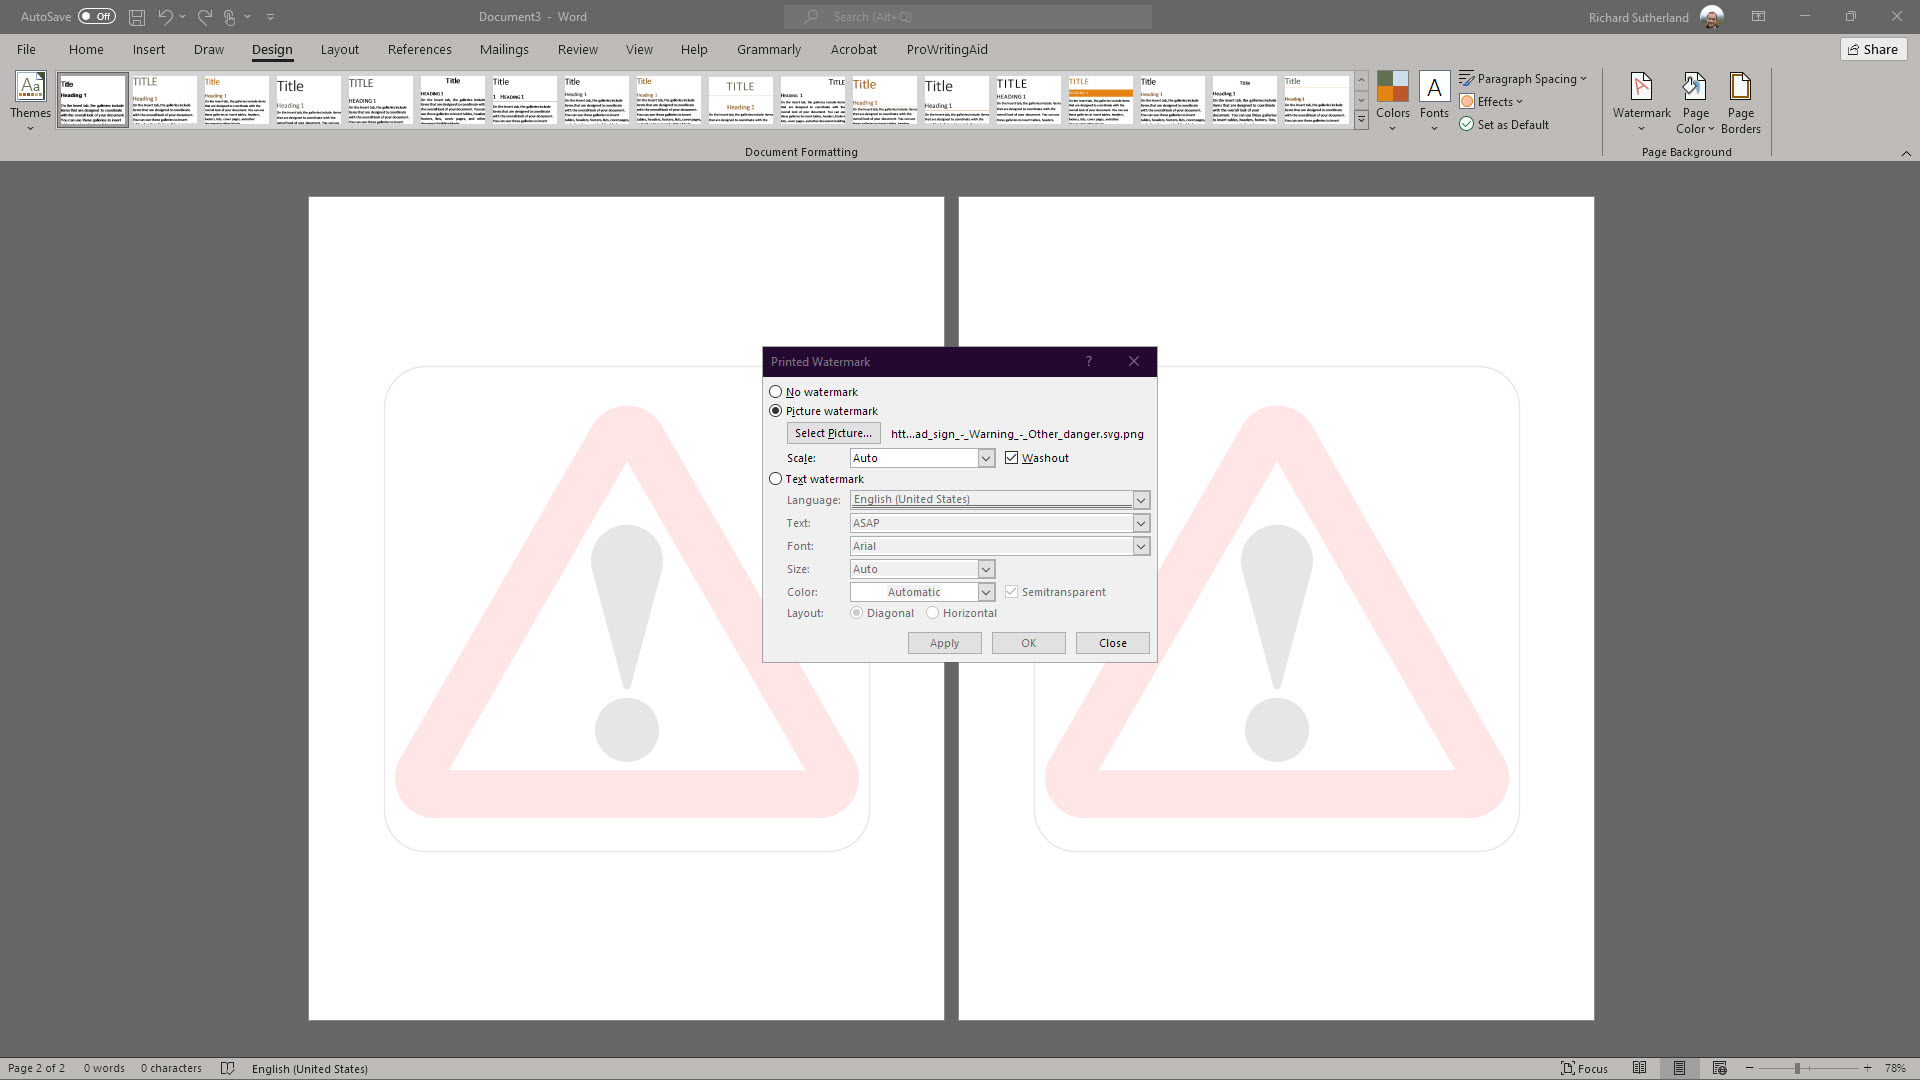
Step iv: Inserting an image watermark
Yous tin can employ an image instead for a more than elaborate watermark. This is available in the same Custom Watermark carte in the Watermark dropdown.
Choose Pic Watermark and click Select Moving picture. You can now choose between images on your figurer, images from OneDrive, or perform a search for images on Bing.
Once you've selected your preferred paradigm, you can set its scale and choose whether it volition be washed out.
Hit Apply to meet your new watermark announced in the document.
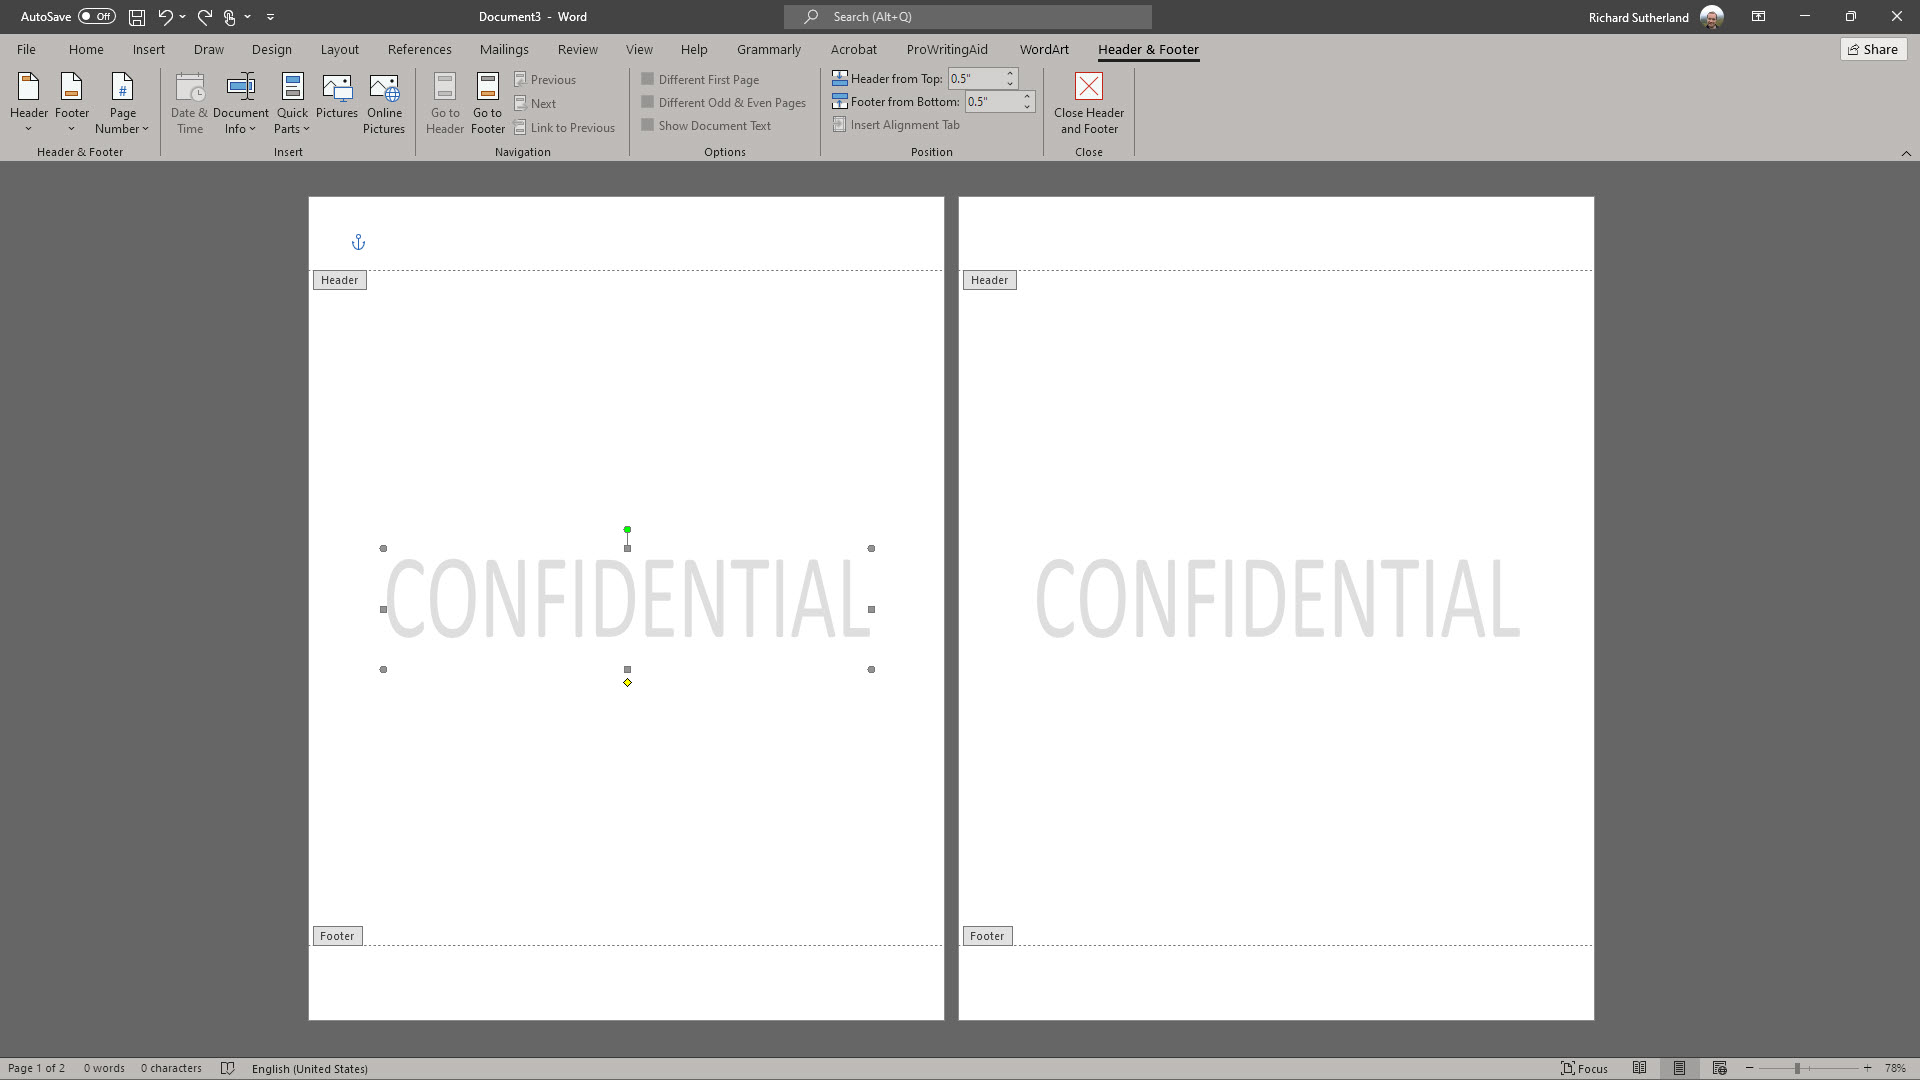
Step five: Adjusting the placement of a watermark
If yous want to arrange the position of a text watermark, you can usually just click on it to edit it. Nonetheless, for image watermarks and some text watermarks, you won't be able to select the watermark directly.
Instead, you'll need to edit the header of the document. To edit the header, become to the Insert menu and observe the Header dropdown. Click on this dropdown and choose Edit Header.
At present that you lot're in header editing style, you will be able to select the watermark. You can elevate it effectually the page and alter its size and shape. Changes to your watermark will be reflected on all pages.
When you're happy with how your watermark looks, printing Close Header and Footer to render to editing your document.

Step half-dozen: Removing a watermark
You can remove a watermark past following the step above and editing the header. Cull the Header dropdown from the Insert menu and select Edit Header. Then, click on the watermark and press the delete key on your keyboard to remove it completely from the certificate.
Summary
Microsoft Word offers multiple means to insert watermarks into documents. Y'all can use a set up template watermark, a custom text watermark, or an image. You can as well move the watermark around and adjust how information technology appears on the document's pages.
While Microsoft Function even so rules the roost in terms of office suites, there are also many alternatives to Microsoft Function. We like Google Workspace for its tight integration with other Google products and Zoho Workplace for its long list of useful apps.
Now that you've learned how to insert watermarks, you can also bank check out how to insert and edit footnotes in Microsoft Discussion or larn about the benefits of using Microsoft 365 for pocket-size businesses.
Source: https://www.itproportal.com/guides/how-to-create-watermarks-in-microsoft-word/
Post a Comment for "How to Place a Clip Art Picture as a Watermark"